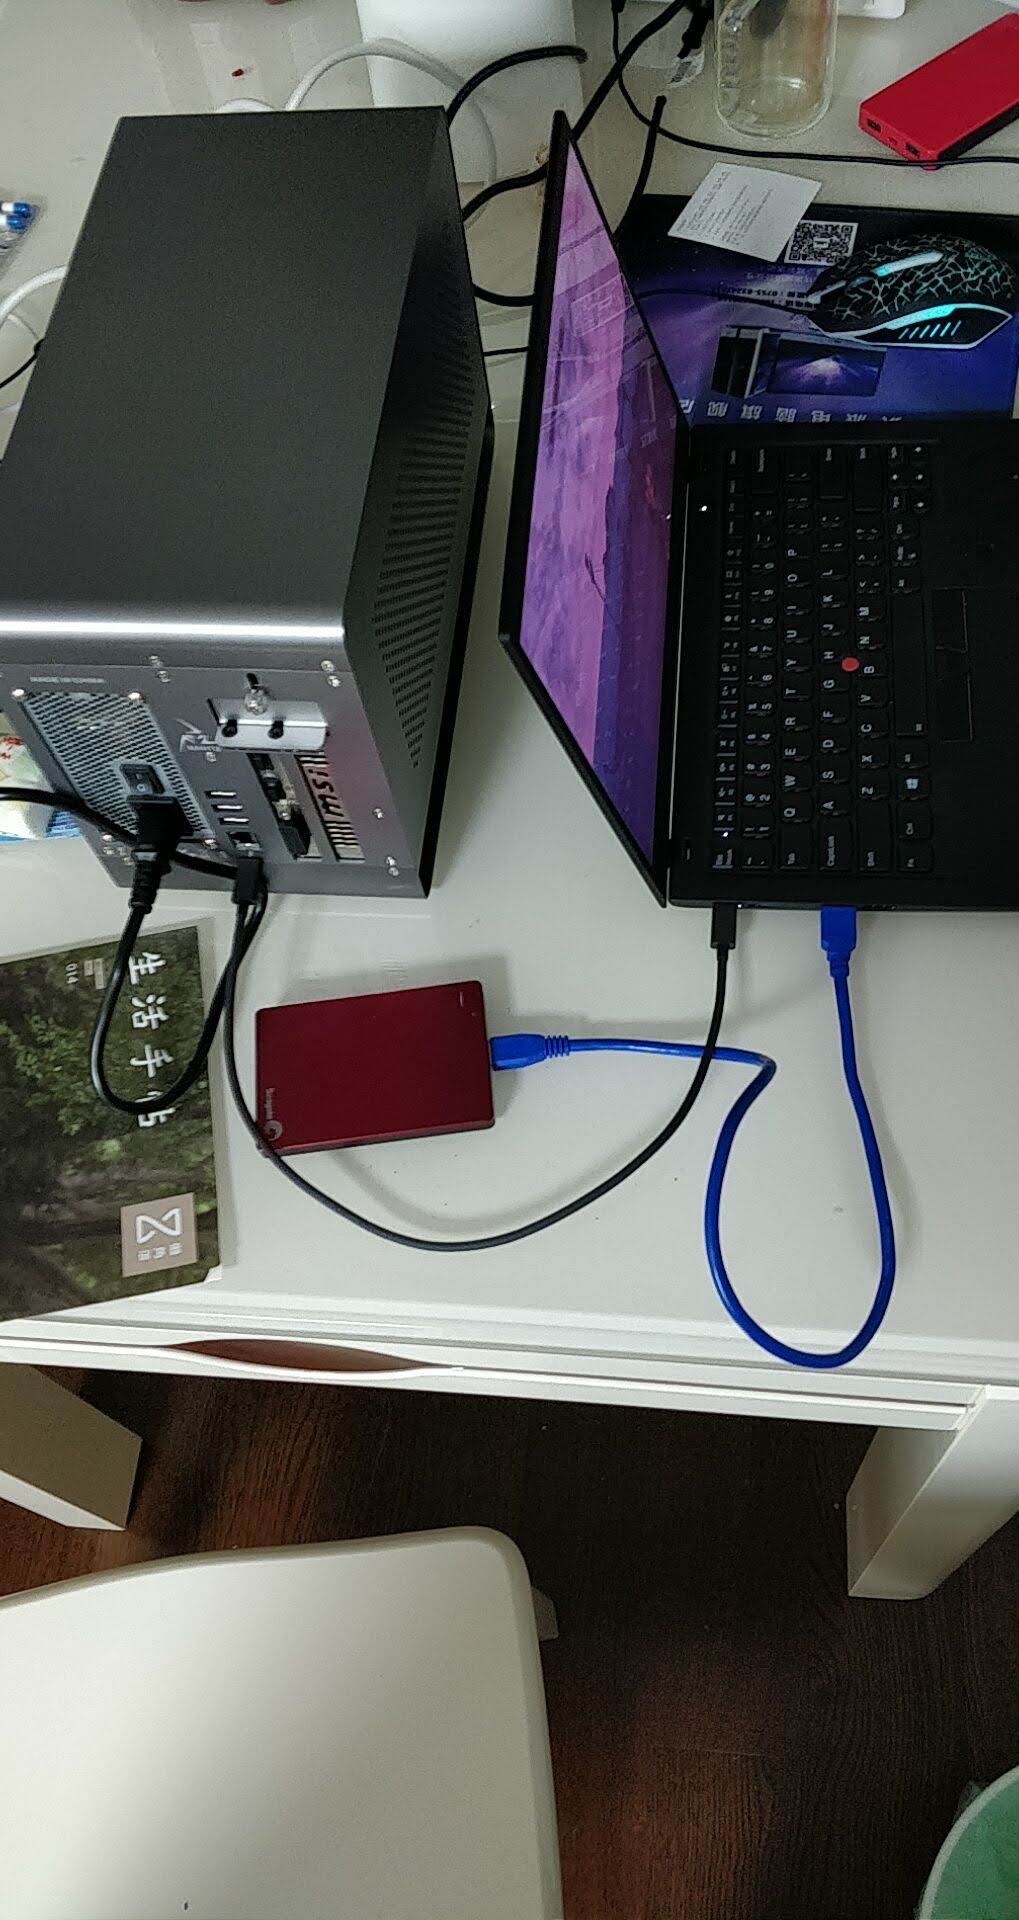
最近从公司淘了一块 GTX 1060,淘宝了一个显卡盒折腾 TB3 eGPU 方案。由于笔记本经常带出门,打算采用即插即用的 bumblebee 方案(回家插上盒子用独显,拔下盒子可以带出门,可以正常待机不用重启)。下面记录一下 Arch 上配置的步骤和遇到的坑。
1、准备软件包
# pacman -S bumblebee primus lib32-primus nvidia-dkms lib32-nvidia-utils bolt
2、修改 bumblebee 配置
修改 /etc/bumblebee/xorg.conf.nvidia,在 Section “Device” 中加入:
Option "AllowExternalGpus" "true"
修改 /etc/bumblebee/bumblebee.conf,在 [optirun] 中修改:
Bridge=primus
3、插入 TB 线,验证设备(不建议完全关闭设备验证!)
输入 boltctl 查看设备信息,记下设备的 uuid。
$ boltctl
 ● TUL TBX-550CA
   ├─ type:          peripheral
   ├─ name:          TBX-550CA
   ├─ vendor:        TUL
   ├─ uuid:          00xxxxxx-xxxx-xxxx-ffff-ffffffffffff
   ├─ status:        authorized
   │  ├─ domain:     domain0
   │  └─ authflags:  none
   ├─ authorized:    Fri 28 Sep 2018 08:23:25 AM UTC
   ├─ connected:     Fri 28 Sep 2018 08:23:21 AM UTC
   └─ stored:        Thu 27 Sep 2018 05:22:07 AM UTC
      ├─ policy:     auto
      └─ key:        no
验证设备并设置为自动验证:
$ boltctl enroll --policy=auto 00xxxxxx-xxxx-xxxx-ffff-ffffffffffff
4、启动 bumblebeed
# systemctl start bumblebeed
5、测试、运行程序
$ optirun glxspheres64
Polygons in scene: 62464 (61 spheres * 1024 polys/spheres)
Visual ID of window: 0x13f
Context is Direct
OpenGL Renderer: GeForce GTX 1060 5GB/PCIe/SSE2
……
6、安全删除设备(参考了 jpamills 博客里的脚本)
#!/bin/bash
secs=5
tbt_chain=/sys/bus/thunderbolt/devices/0-0/../../../..
echo "Unplug eGPU script started."
if [ "$(id -u)" != "0" ]; then
        echo "Please run using sudo. Exiting."
        exit 1
fi
systemctl restart bumblebeed
sleep 2
modprobe -r nvidia_modeset
modprobe -r nvidia-uvm
modprobe -r nvidia
if [ -e $tbt_chain/remove ]
then
        echo 1 > $tbt_chain/remove
        echo "Thunderbolt chain removed from PCI tree. Please unplug eGPU now."
        while [ $secs -gt 0 ]; do
                echo -ne "$secs to rescan...\033[0K\r"
                sleep 1
                : $((secs--))
        done
        echo 1 > /sys/bus/pci/rescan
        echo "Rescanned the PCI bus. Completed."
        exit 0
else
        echo "eGPU does not appear to be attached. Exiting."
        exit 1
fi
如果和我一样在盒子上插了外置硬盘,还可以在脚本里加上相应的 umount 语句。删除设备时需要先把使用设备的程序退出。
效果展示


剩下的问题
- 脚本里可以考虑通过判断 nvidia-smi 列出的 PID 自动杀掉所有还在用卡的进程
- Vulkan 应用程序暂时无法使用外置卡运行(仍然使用集显),可能需要 bumblebee 提供支持
猫好优秀,多出一块980正愁怎么接上。还是arch好整。